How to Recover Access to Your IRON FISH Wallet
30/03/2026
Did you install a wallet from GitHub but find it not working? Have you recently reinstalled your OS or accidentally deleted your wallet? Or something unexpected happened that caused you to lose access to your wallet.
If so, don't worry — you can still regain access to your wallet if you've saved a backup of your wallet or a seed phrase, which is a secret combination of 24 words.
It's important to note that your money is not stored in the program but in your wallet address. Whoever owns the keys to that wallet address owns access to your wallet!
We'll guide you through transferring your wallet address to an official working wallet.
Installing the Official Wallet
In our article, we've covered installing the official IRON FISH wallet, so we will describe only some of the processes here. You can find detailed instructions in our article here: https://pool.kryptex.com/en/articles/ironfish-wallet-en .
Just follow the instructions up to Step 4. You don't need to create a new wallet; you must import your wallet address.
Note:
You need to use version 18 of Node.js. Do not install version 20 or later; it won't work with the wallet.
If you see a window like the one below when you try to install Node.js 18, you already have this version installed. In that case, just run the command
npm install -g ironfishand install the wallet.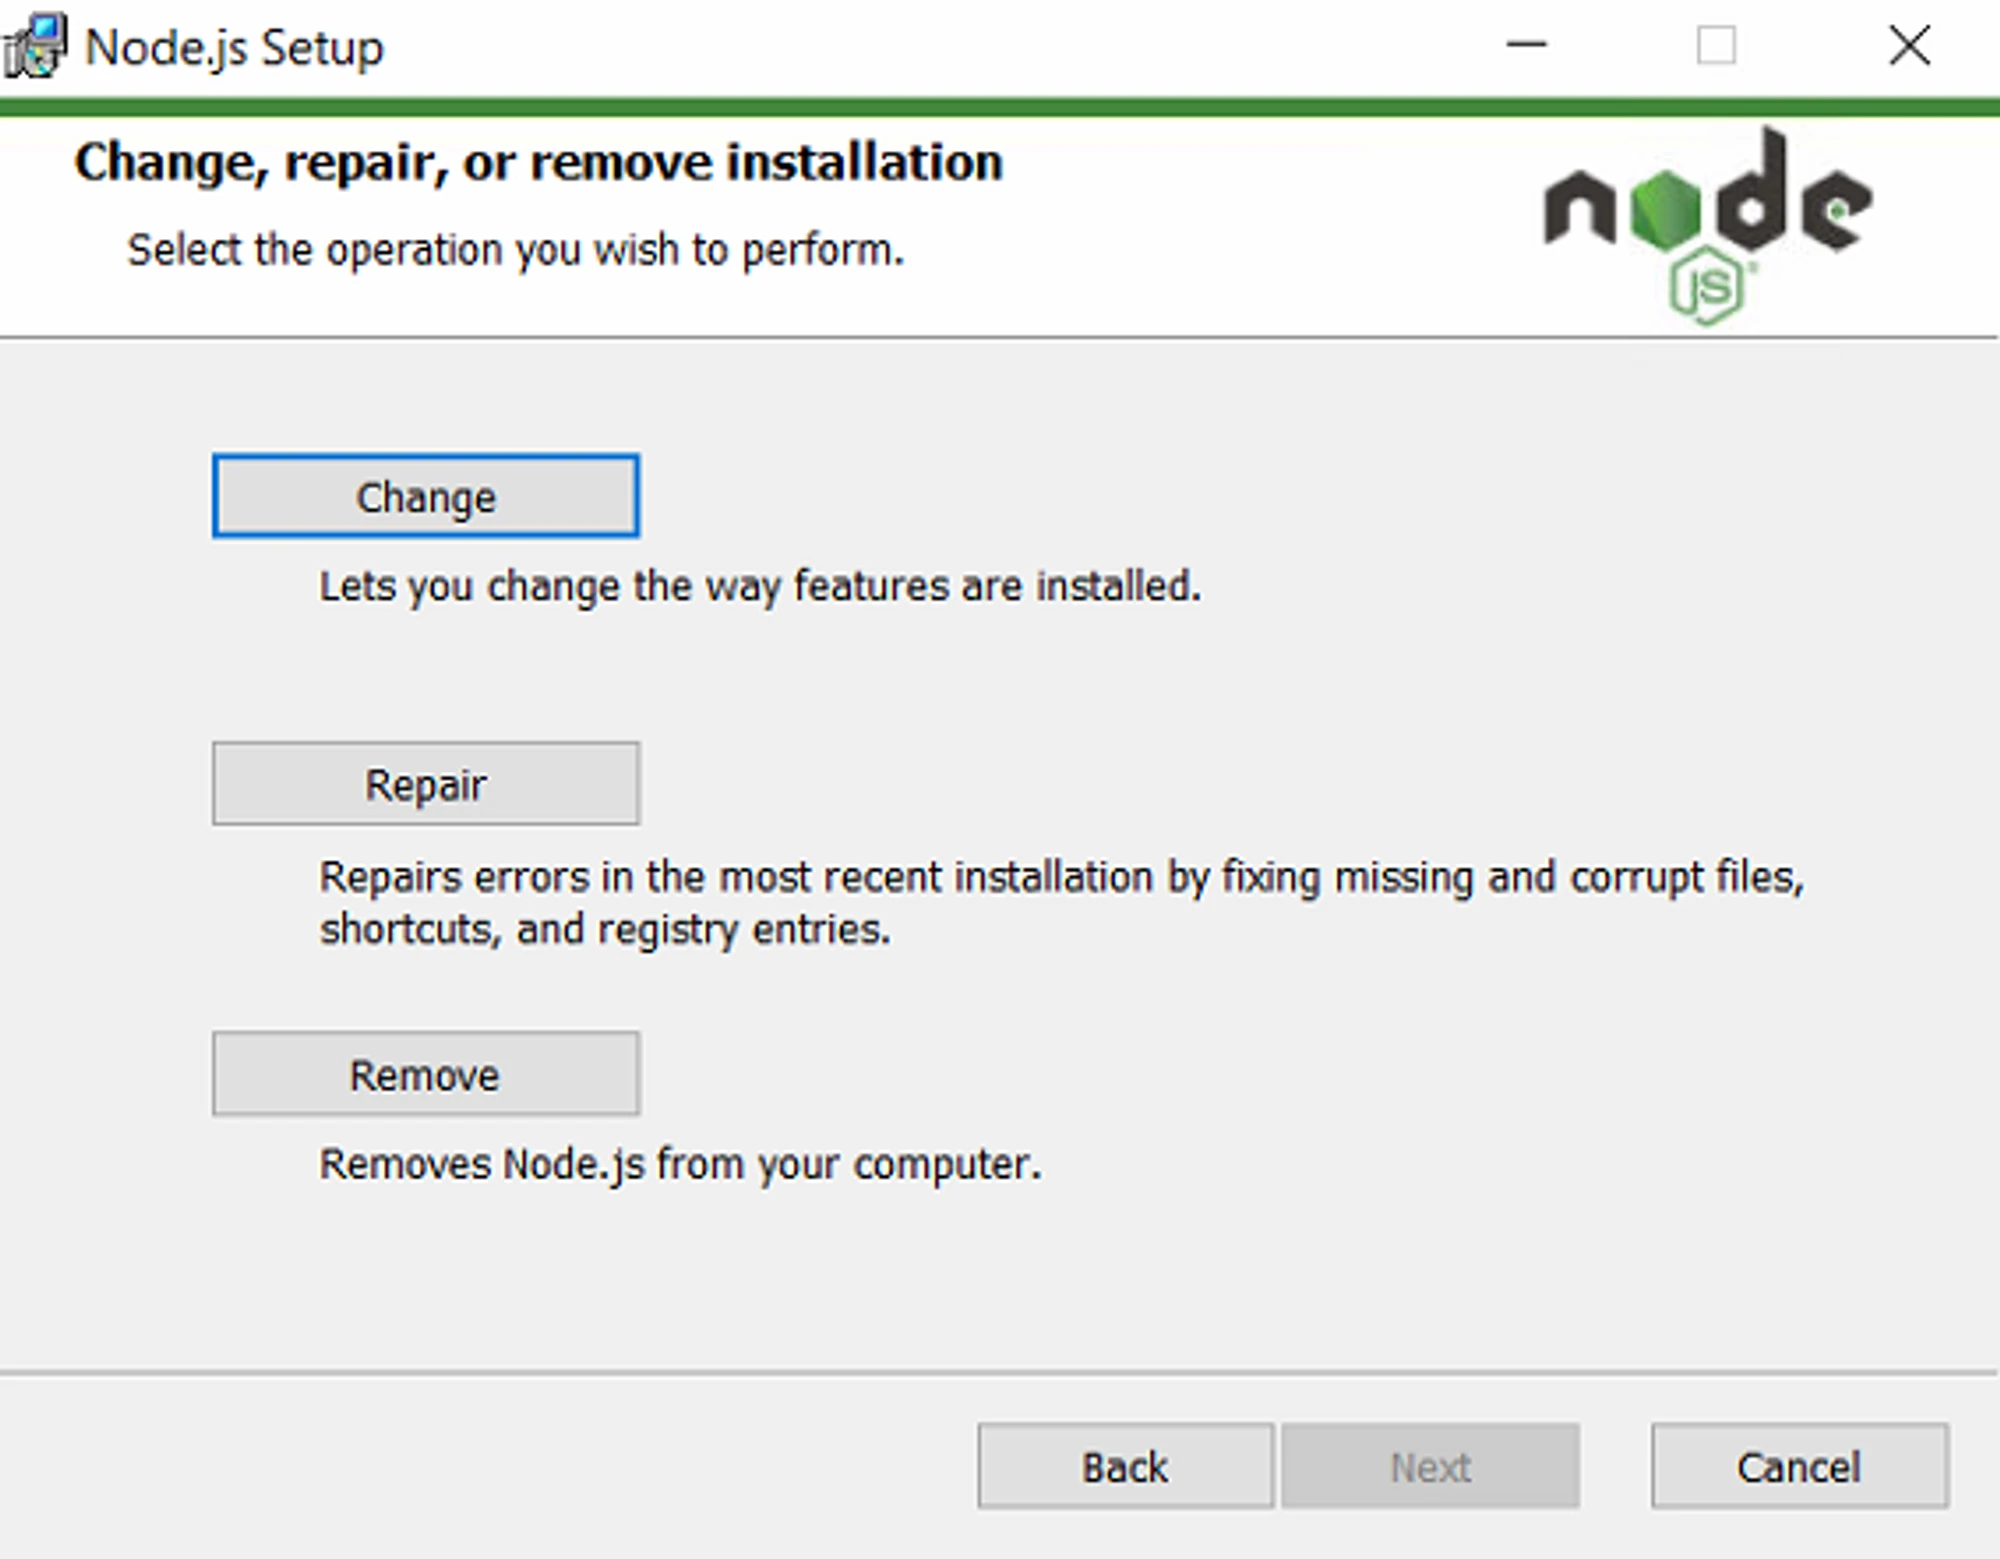
Importing Your Keys and Wallet
We recommend running the
ironfish wallet:addresscommand first. Sometimes, the wallet will find connections with your old wallet after installation, and you won't need to import anything. If you see your wallet address after running this command, congratulations! You can skip the next step and proceed to wallet synchronization.If you don't see your wallet address after running the
ironfish wallet:addresscommand, or if you see the wrong one, you'll need to import your wallet using the 24-word seed phrase you received when you first created your wallet. Run theironfish wallet:importcommand to do so.
The wallet will ask you to specify the backup path or enter your 24-word seed phrase. Follow the prompts and press Enter.

The wallet will then ask you to choose an account name for your wallet.
If you entered an account name but received an error message like the one below, the wallet with the same name is already created. You'll need to create a different name for your wallet.

If you entered a new name but received an error message like the one below, your wallet already exists in the database, and you don't need to import it again.

If there was no wallet in the database with the same account name — you will see the message
Account AccountName imported
Use the imported wallet as the default wallet, using the command
ironfish wallet:use AccountName
Checking The Wallet
Please execute the command ironfish wallet:address and verify that the displayed wallet address is correct.

If the displayed address is the one you were expecting, congratulations! Your key import was successful.
If the displayed address is NOT the desired address, please check the list of accounts to ensure you are using the correct one. You can run the command
ironfish wallet:accountsto view all the accounts in your wallet.
To determine which account is currently selected as the default account, please run the command
ironfish wallet:witch.
To choose a different default account and view its address, run
ironfish wallet:use AccountNamefollowed byironfish wallet:address.
Synchronizing Your Wallet
Once you have imported the necessary wallet and ensured that it is set as the default and that the address is accurate, the wallet must be synchronized with the network. Follow these steps:
Run the
ironfish mainnetcommand and verify that the wallet is connected to the mainnet.If you see a message similar to the screenshot, you are already in the mainnet.

If the wallet prompts you to switch to the mainnet, enter
Yand confirm the transition.
Run the
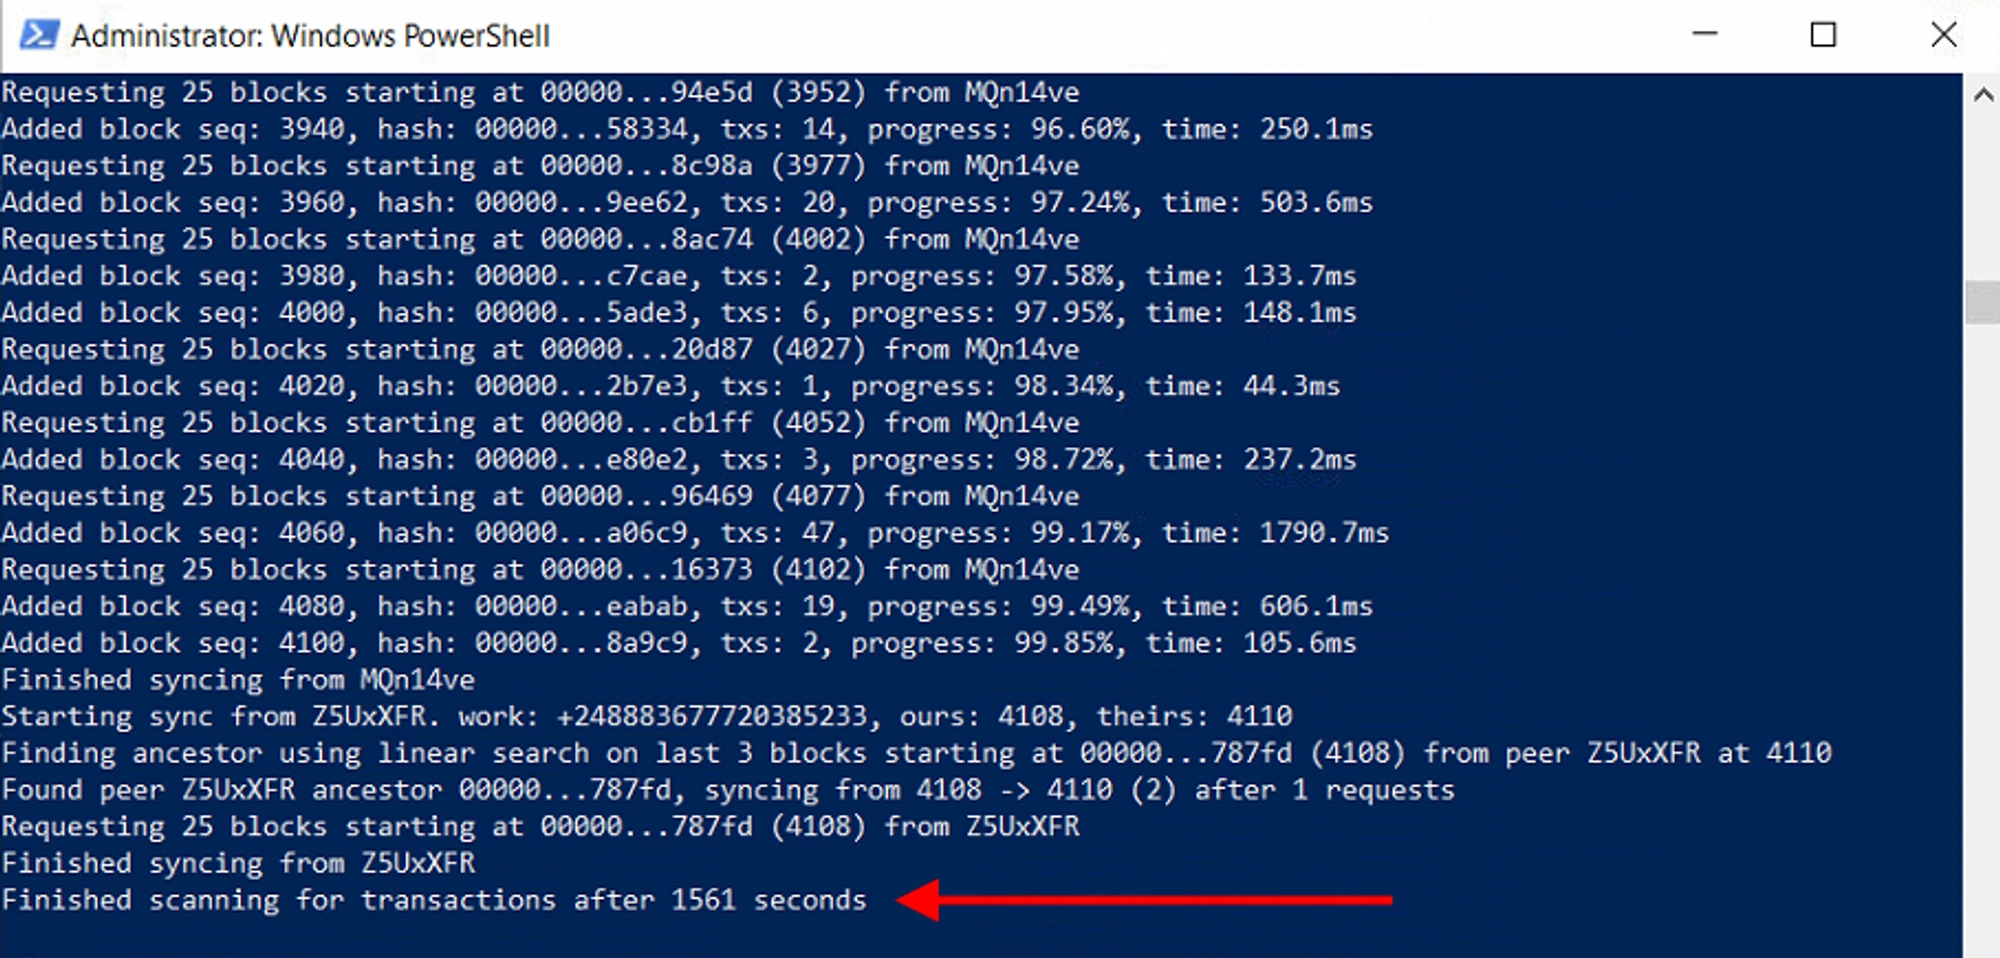
ironfish startcommand and wait for the synchronization to reach 100%. It may take some time, and you may feel like the process is frozen, but it's not. Just be patient and wait for the synchronization to finish.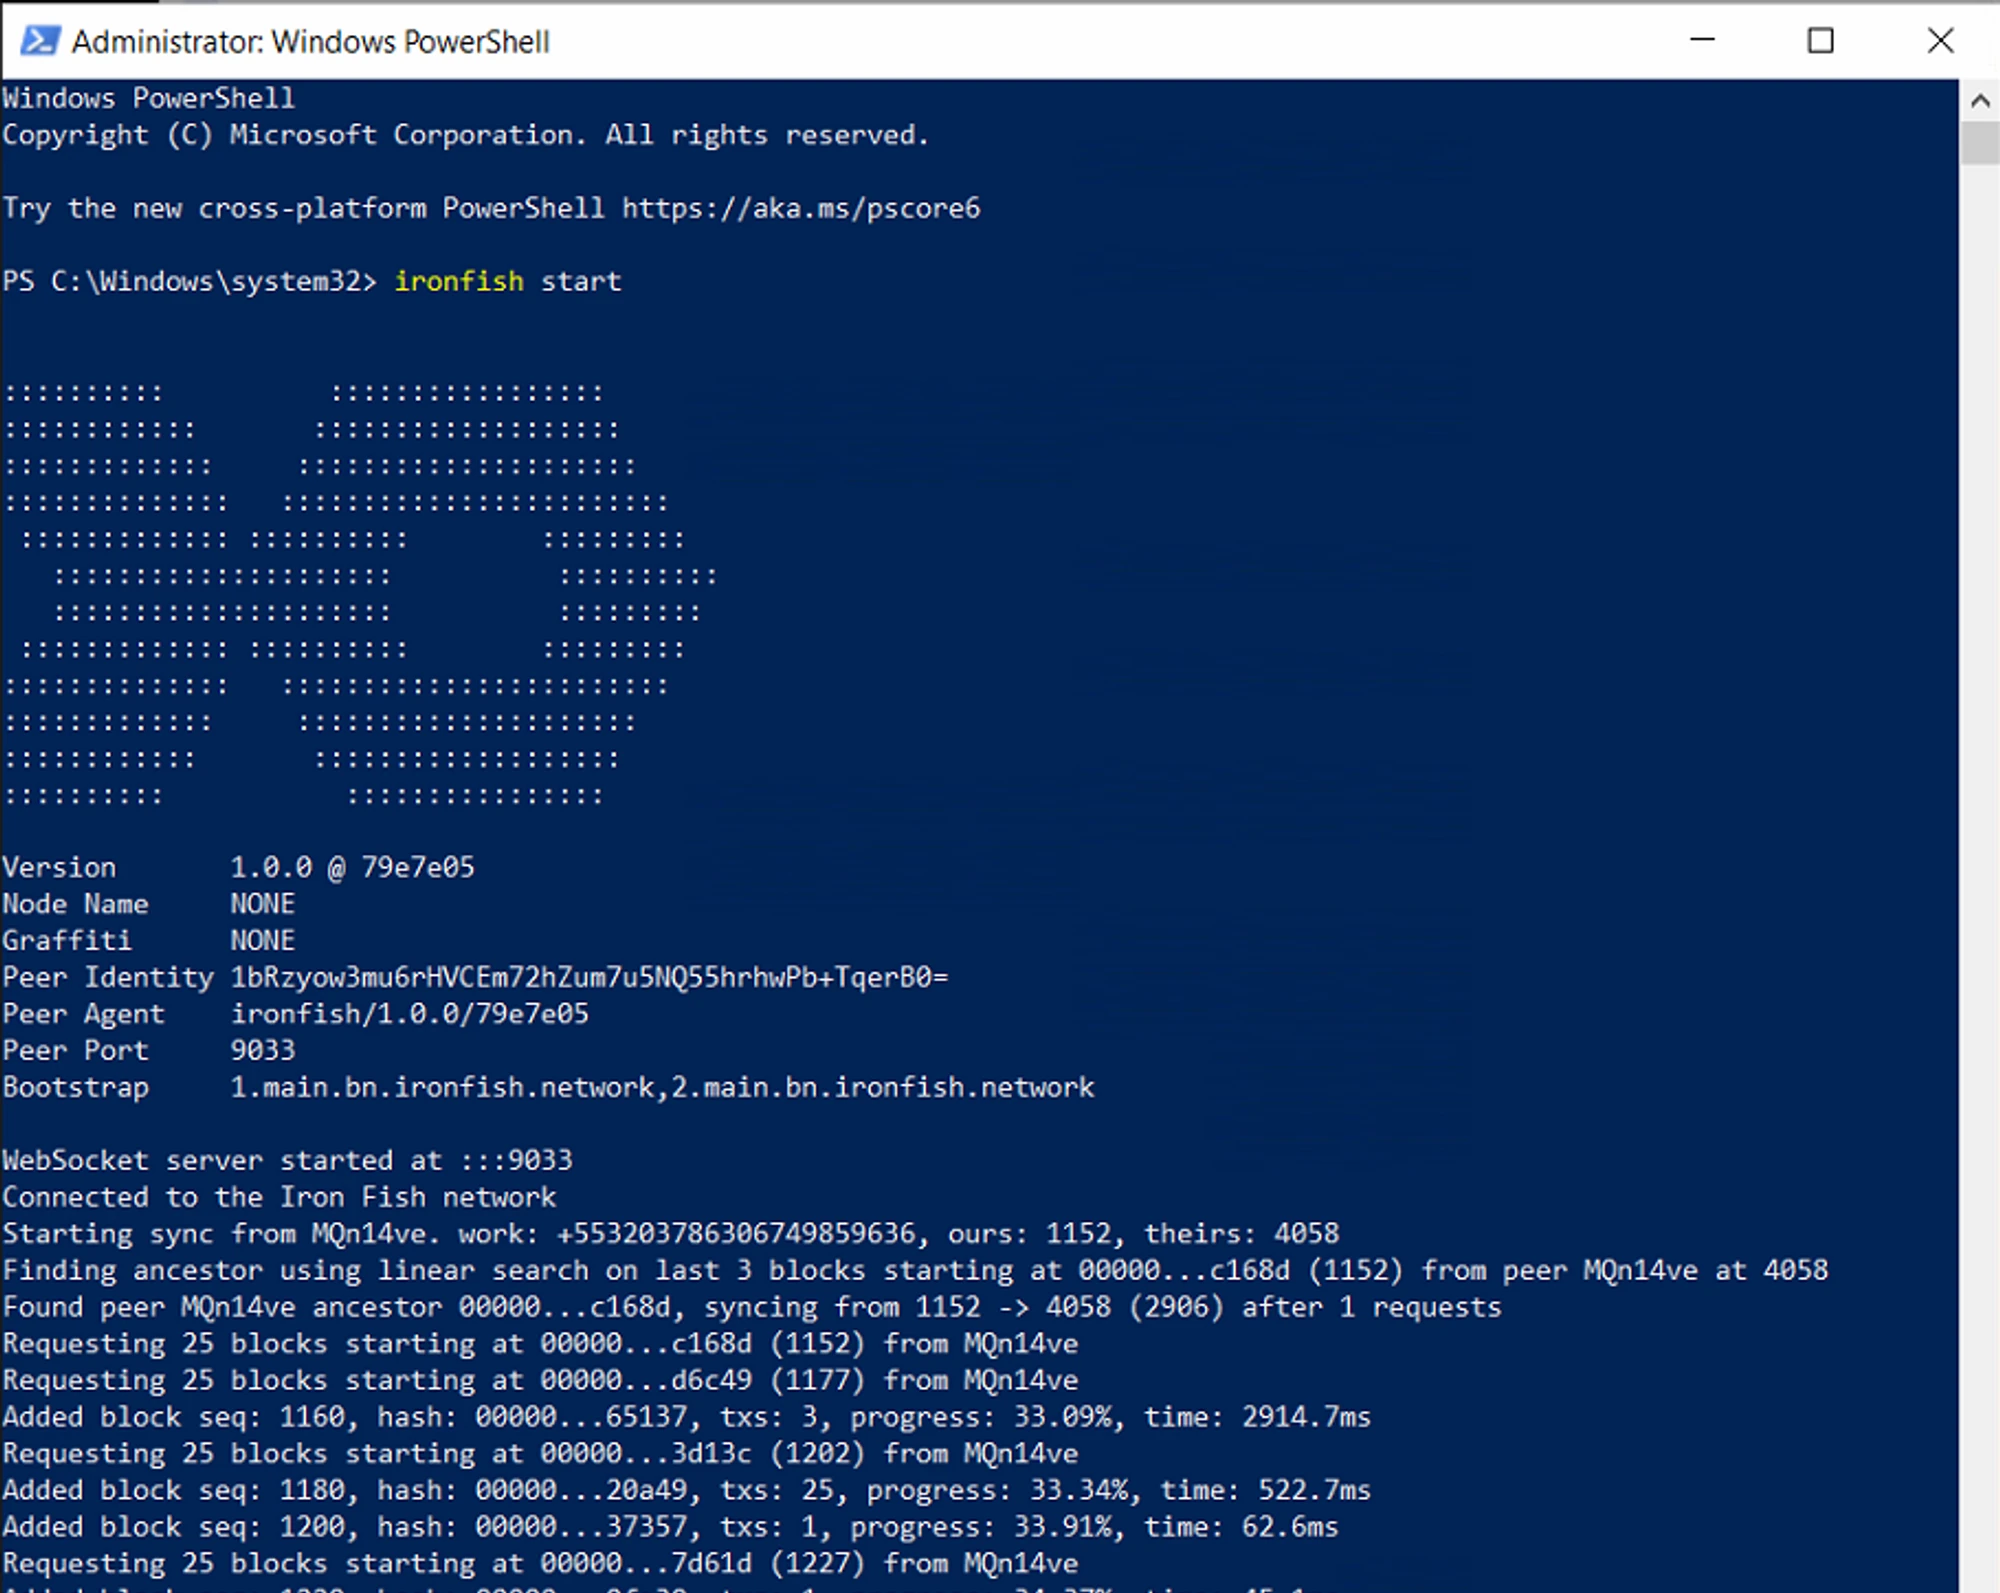
When the synchronization is complete, a similar message will appear. Do not close this window!
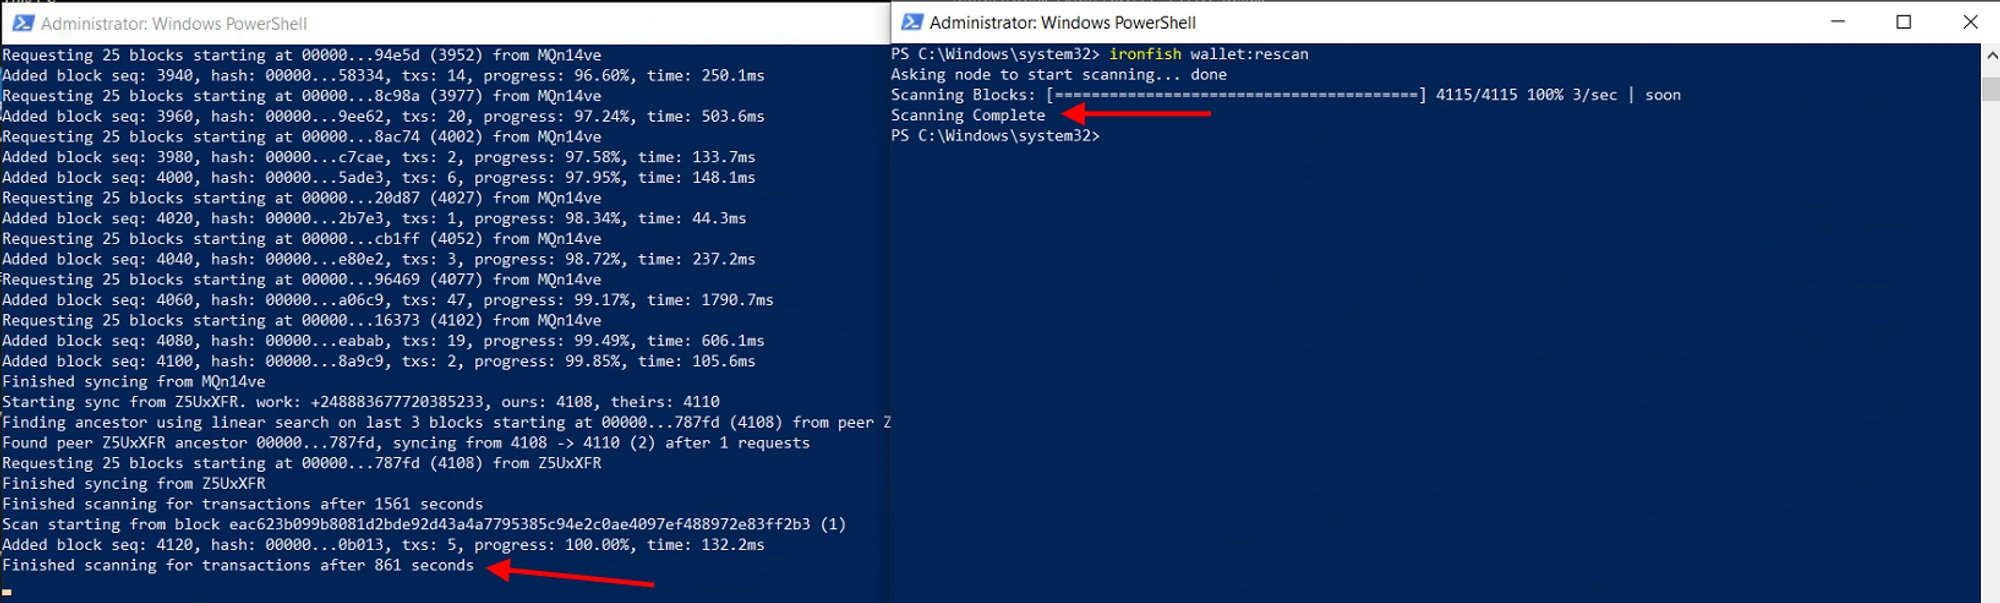
Without closing the first window, open a second PowerShell window and run the
ironfish wallet:rescancommand. This command will scan your wallet; you must wait until it reaches 100%. It may take some time.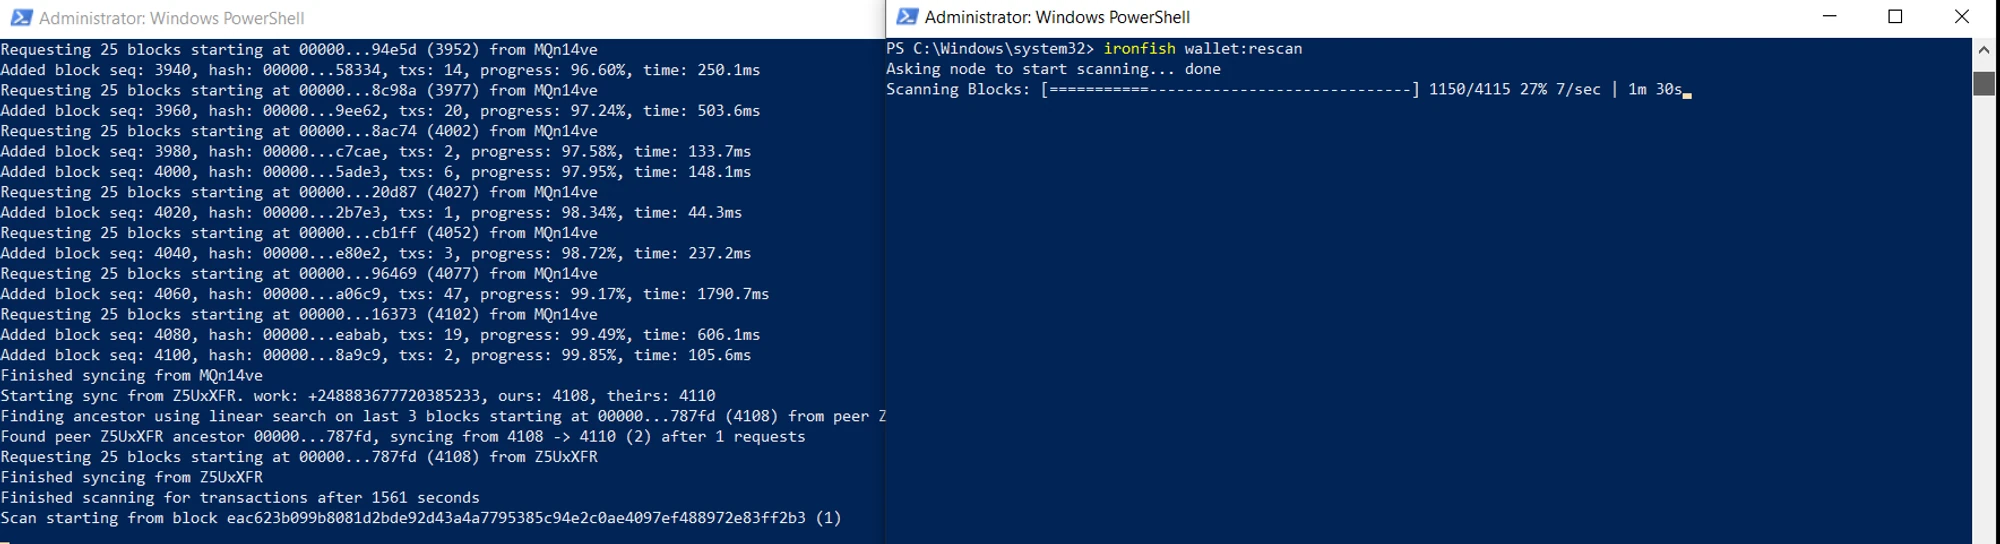
Once the scan is complete, your wallet is ready to use.
Check Your Balance
When the wallet synchronization and scanning are completed, you can check your wallet balance and make online transfers.
Please do not close the synchronization window, as it needs to be running while you are working with the wallet.
We recommend keeping the sync window open if you use your IronFish wallet frequently to avoid the long sync process each time.
To check the wallet balance, run the command
ironfish wallet:balance. The balance will only be accurate when the wallet is fully synced.
To send funds to another address, use the
ironfish wallet:sendcommand and enter the recipient's wallet address, transfer amount, and network fee. Choosing a lower network fee will result in a cheaper transfer but will take longer to complete.To send funds to another address with a
memo(such as an exchange), use theironfish wallet:send --memocommand and enter thememo, recipient's address, and transaction fee.
Possible Issues
If you encounter any synchronization errors or the command fails to execute, restart your PC and reset the database by following these steps:
- Open PowerShell as an administrator and run the following commands:
ironfish reset— resets the database (confirm reset when prompted).npm install -g ironfish— wait for the execution to complete, which will update the wallet.ironfish mainnet— transfers the wallet to the mainnet (confirm the transition when prompted)ironfish start— starts the wallet (wait for it to startup and sync up to 100%)
- Without closing the first PowerShell window, open a second one and run the command:
ironfish wallet:rescan— this will update the wallet data. - Finally, run the command
ironfish wallet:statusto confirm that your wallet is ready!
Useful Commands for Working with the Iron Fish Wallet
ironfish wallet:accounts— View all active accounts in the Iron Fish wallet.ironfish wallet:which— See which wallet is selected as the default main wallet.ironfish wallet:use— Select and assign a default wallet.ironfish wallet:address— View the wallet address.ironfish wallet:balance— Check your wallet balance. Please note that the balance will only be correct when the wallet is fully synced.ironfish wallet:export— Create a full wallet backup. For example, use the commandironfish wallet:export YourAccountName --path C:\Wallets\Wallet.txt.ironfish wallet:export --mnemonic— Get your wallet secret seed.ironfish wallet:import— Restore your wallet from backup or seed phrase.ironfish wallet:send— Transfer coins from your wallet to another address.ironfish wallet:send --memo— Transfer coins from your wallet to another address using the memo.