Kryptex × VNISH ASIC Firmware: More Hashrate and Control
28.07.2026
If your ASIC runs on stock firmware, you're not getting everything out of it. The factory settings leave the miner's potential untapped — no flexible overclocking, no handy profiles, and no detailed chip monitoring.
Kryptex × VNISH firmware changes that. Flexible overclocking profiles, fan control, real-time chip and hashboard monitoring, and easy pool management help you get the most out of your hardware and raise your ASIC's profitability by 25–30%.
This guide walks you through flashing the ASIC with the Hashcore Toolkit, tours the interface, and connects you to the Kryptex Pool.
Kryptex × VNISH firmware adds:
- overclocking profiles and fine performance tuning;
- flexible fan control;
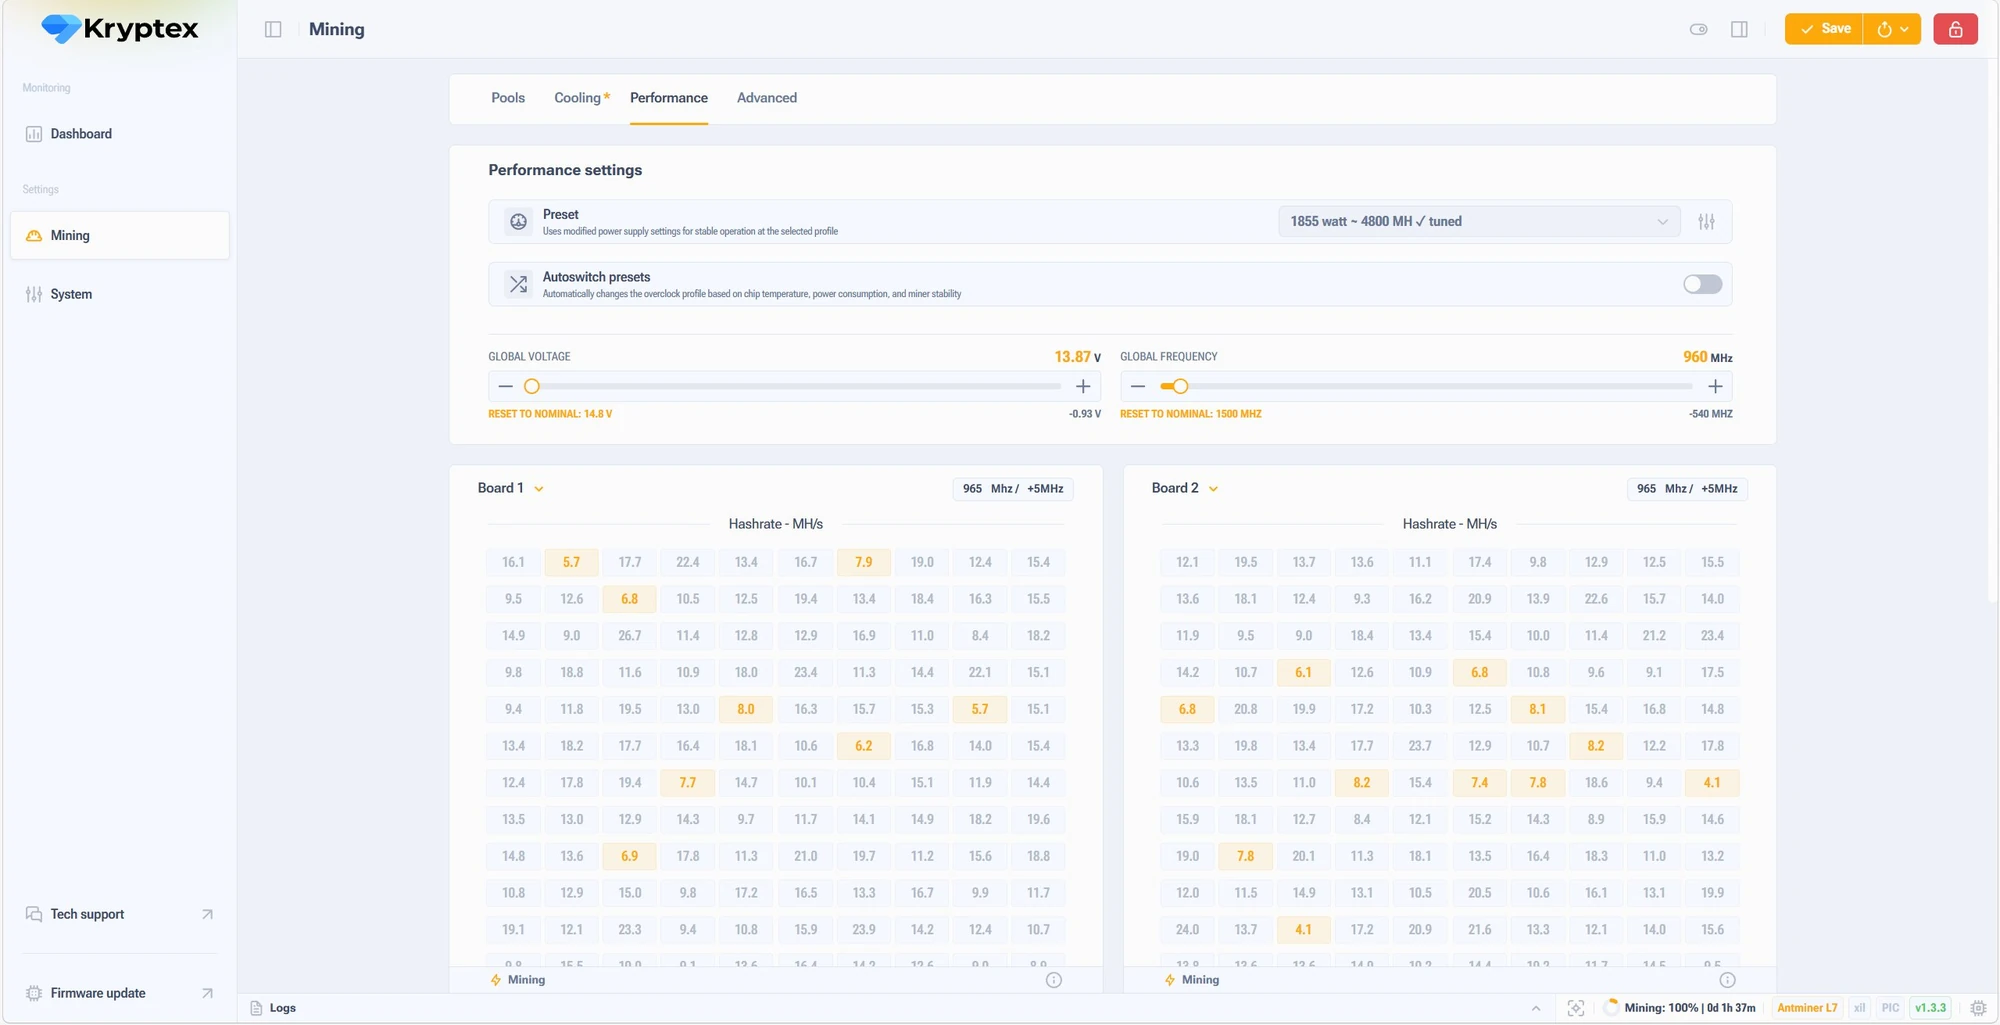
- real-time chip and hashboard monitoring;
- pool and system management right from the web interface.
Preparing for flashing
- Make sure your ASIC model is supported by VNISH firmware.
- Connect your PC to the same network as the ASIC.
- Install the firmware with Hashcore Toolkit version 1.7.3.
- Some Bitmain stock firmware versions can't be used to install VNISH directly: stock released from March through November 2024 (inclusive), plus Antminer L9 — FR-1.19 (260302-L9) and Antminer S19k Pro — FR-1.28 (251010-S19k Pro). This doesn't mean VNISH can't be installed: first update the ASIC through its web interface to another supported stock version (with a different date), then install VNISH. After installing VNISH, you can roll back to the same stock version the miner had before. You'll find ready-made stock firmware images at download.vnish.team/stock/.
- Exception: the Antminer S19k Pro on the AML board with stock firmware dated 10 October 2025 has a locked USB port — unlock it separately first, otherwise VNISH won't install.
- If the device runs another third-party firmware, restore the stock firmware first, then install VNISH.
Installing Kryptex × VNISH Firmware
Download the Hashcore Toolkit and the firmware for your ASIC.
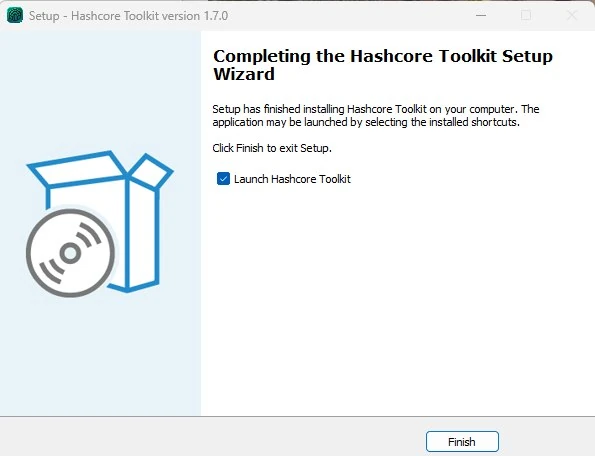
Install the Hashcore Toolkit.
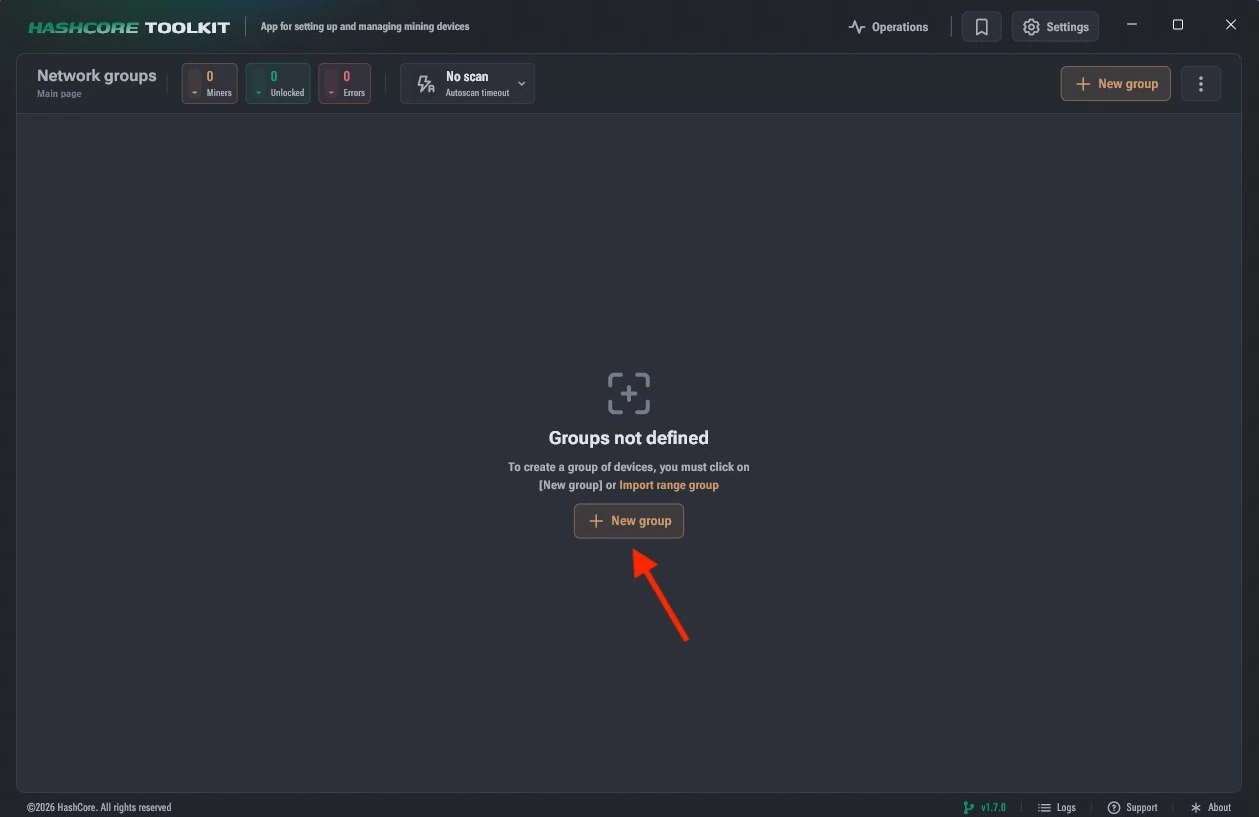
Create a new ASIC group.
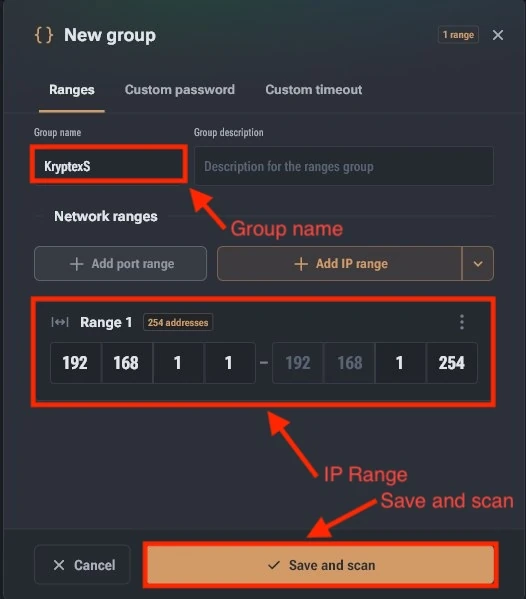
Enter the group name and the IP address range, then click “Save and scan”.
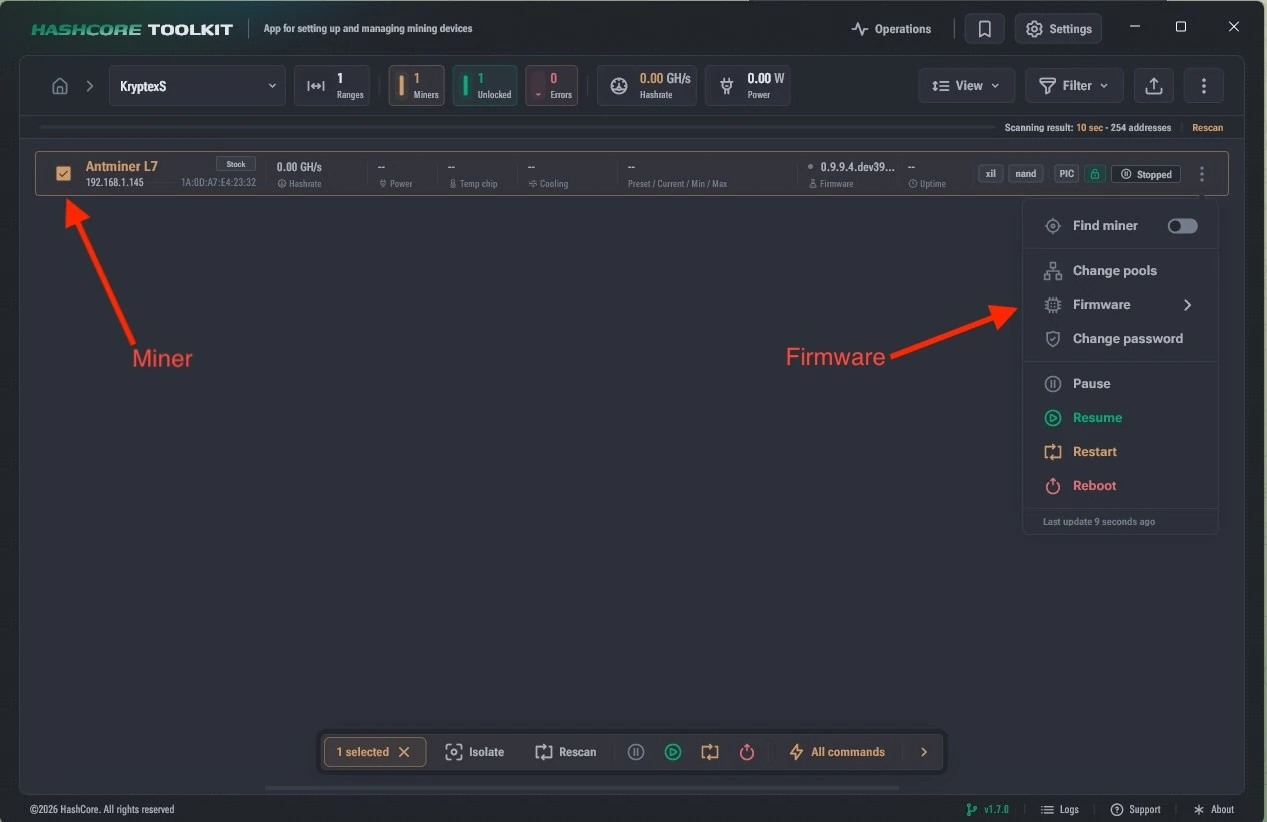
Select your ASIC and the “Firmware” option.
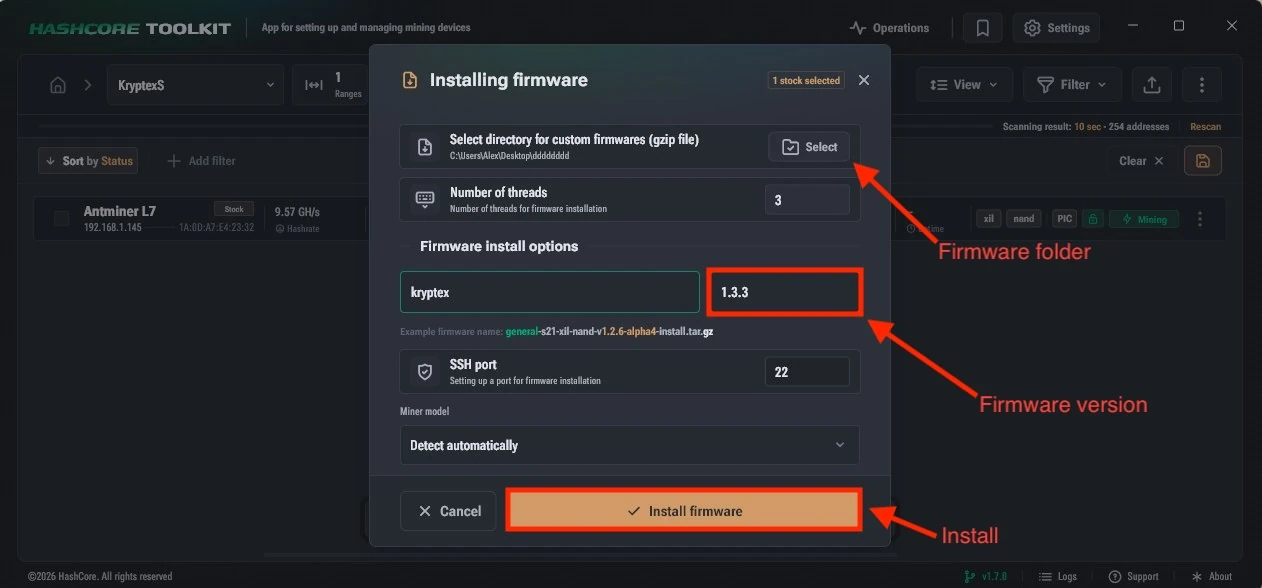
Choose the folder with the downloaded firmware. Type the version exactly as it appears in the firmware; the package name is detected automatically. Click “Install”.
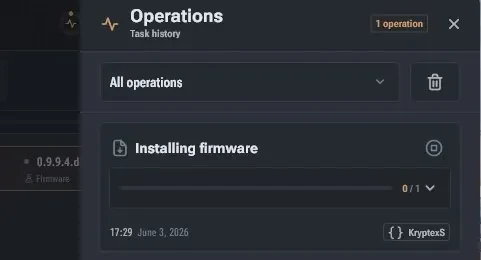
Wait for the installation to finish — this usually takes 3 to 10 minutes depending on the device.
Something went wrong?
If your ASIC freezes, stops responding, or won't work, you can reset it to factory settings.
- On the top panel with the two LEDs (green and red), press and hold the button for 7–20 seconds until the red one lights up. Within 5 minutes the miner resets to factory settings and reboots on its own — no need to power it off.
- Once the ASIC reboots, set up mining on the Kryptex Pool — https://pool.kryptex.com.
Pool Connection Settings
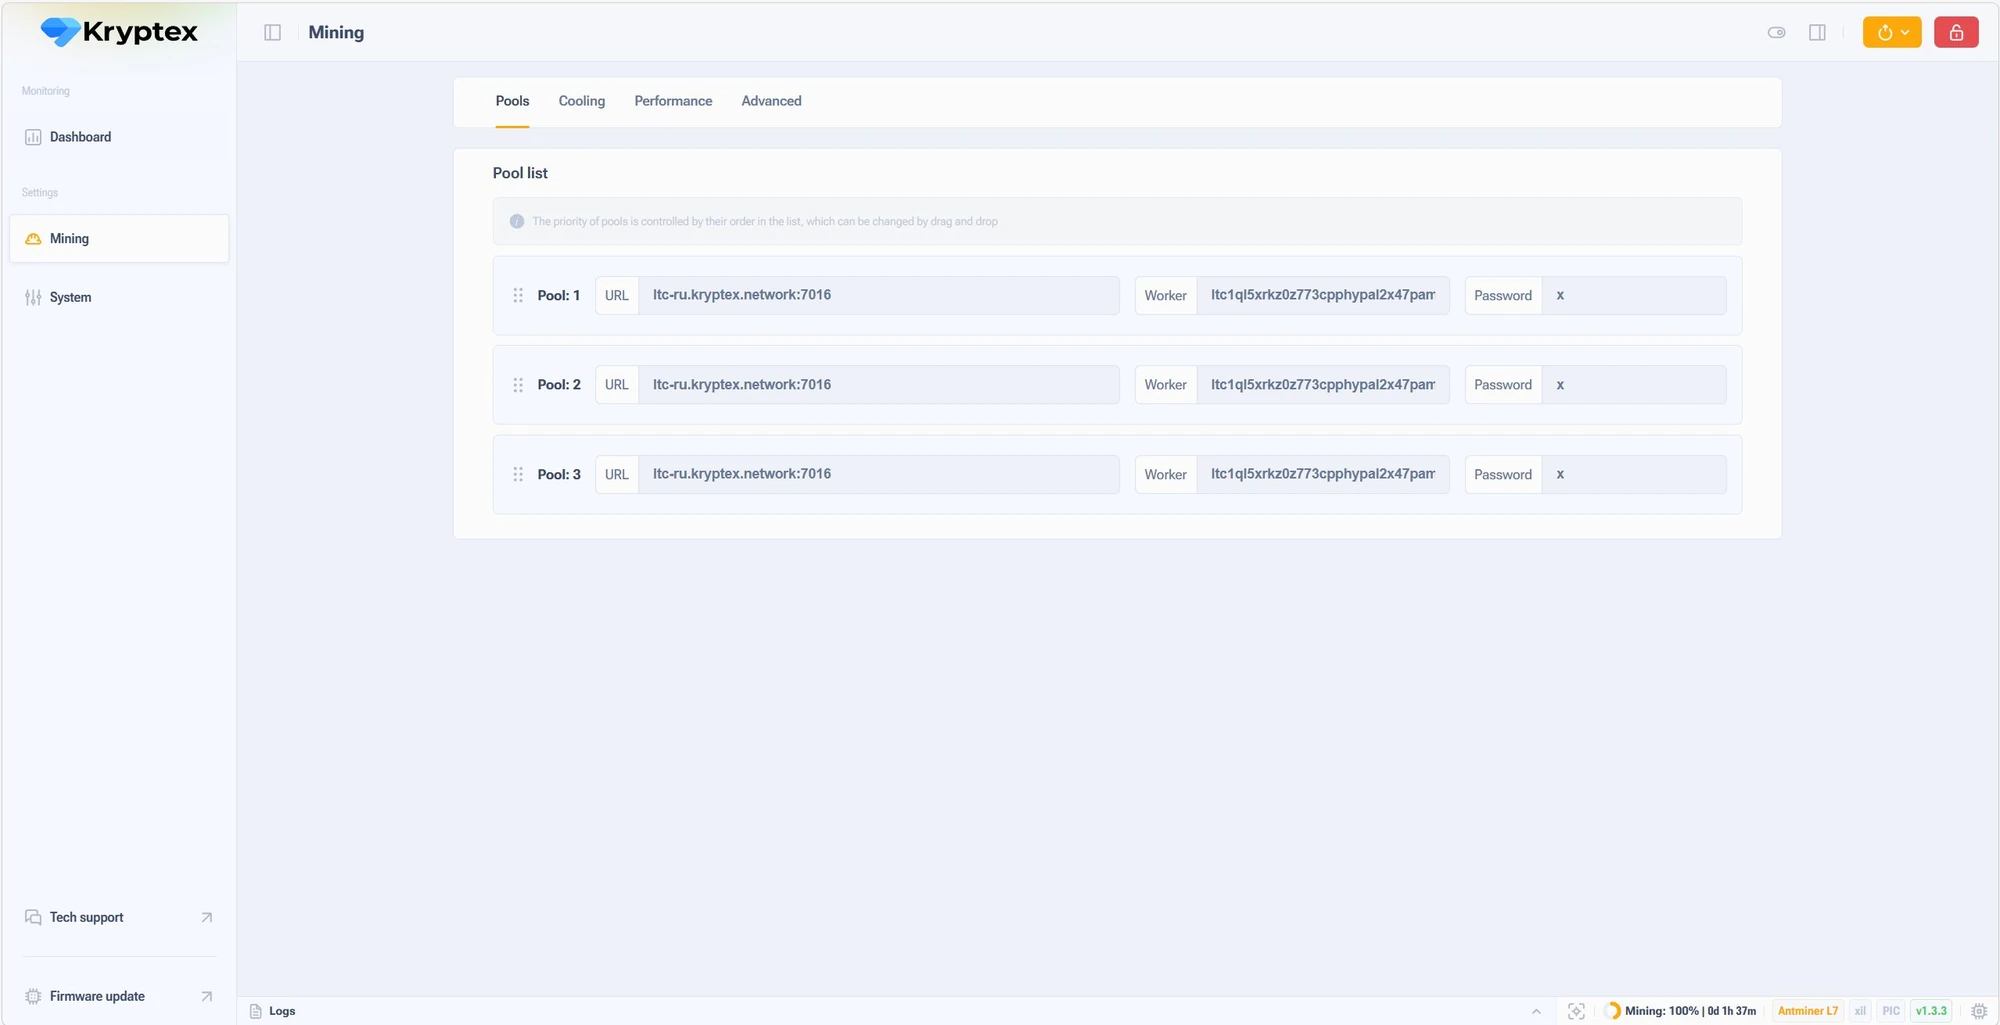
- In the firmware web interface, open the Mining Settings section.
- In the URL field, enter your mining pool address, for example:
stratum+tcp://btc.kryptex.network:7014. - In the User field, enter the worker in the format wallet.workername — for example,
wallet.asic001. - Save the settings, and the miner will reconnect to the Kryptex Pool.
Kryptex × VNISH Features
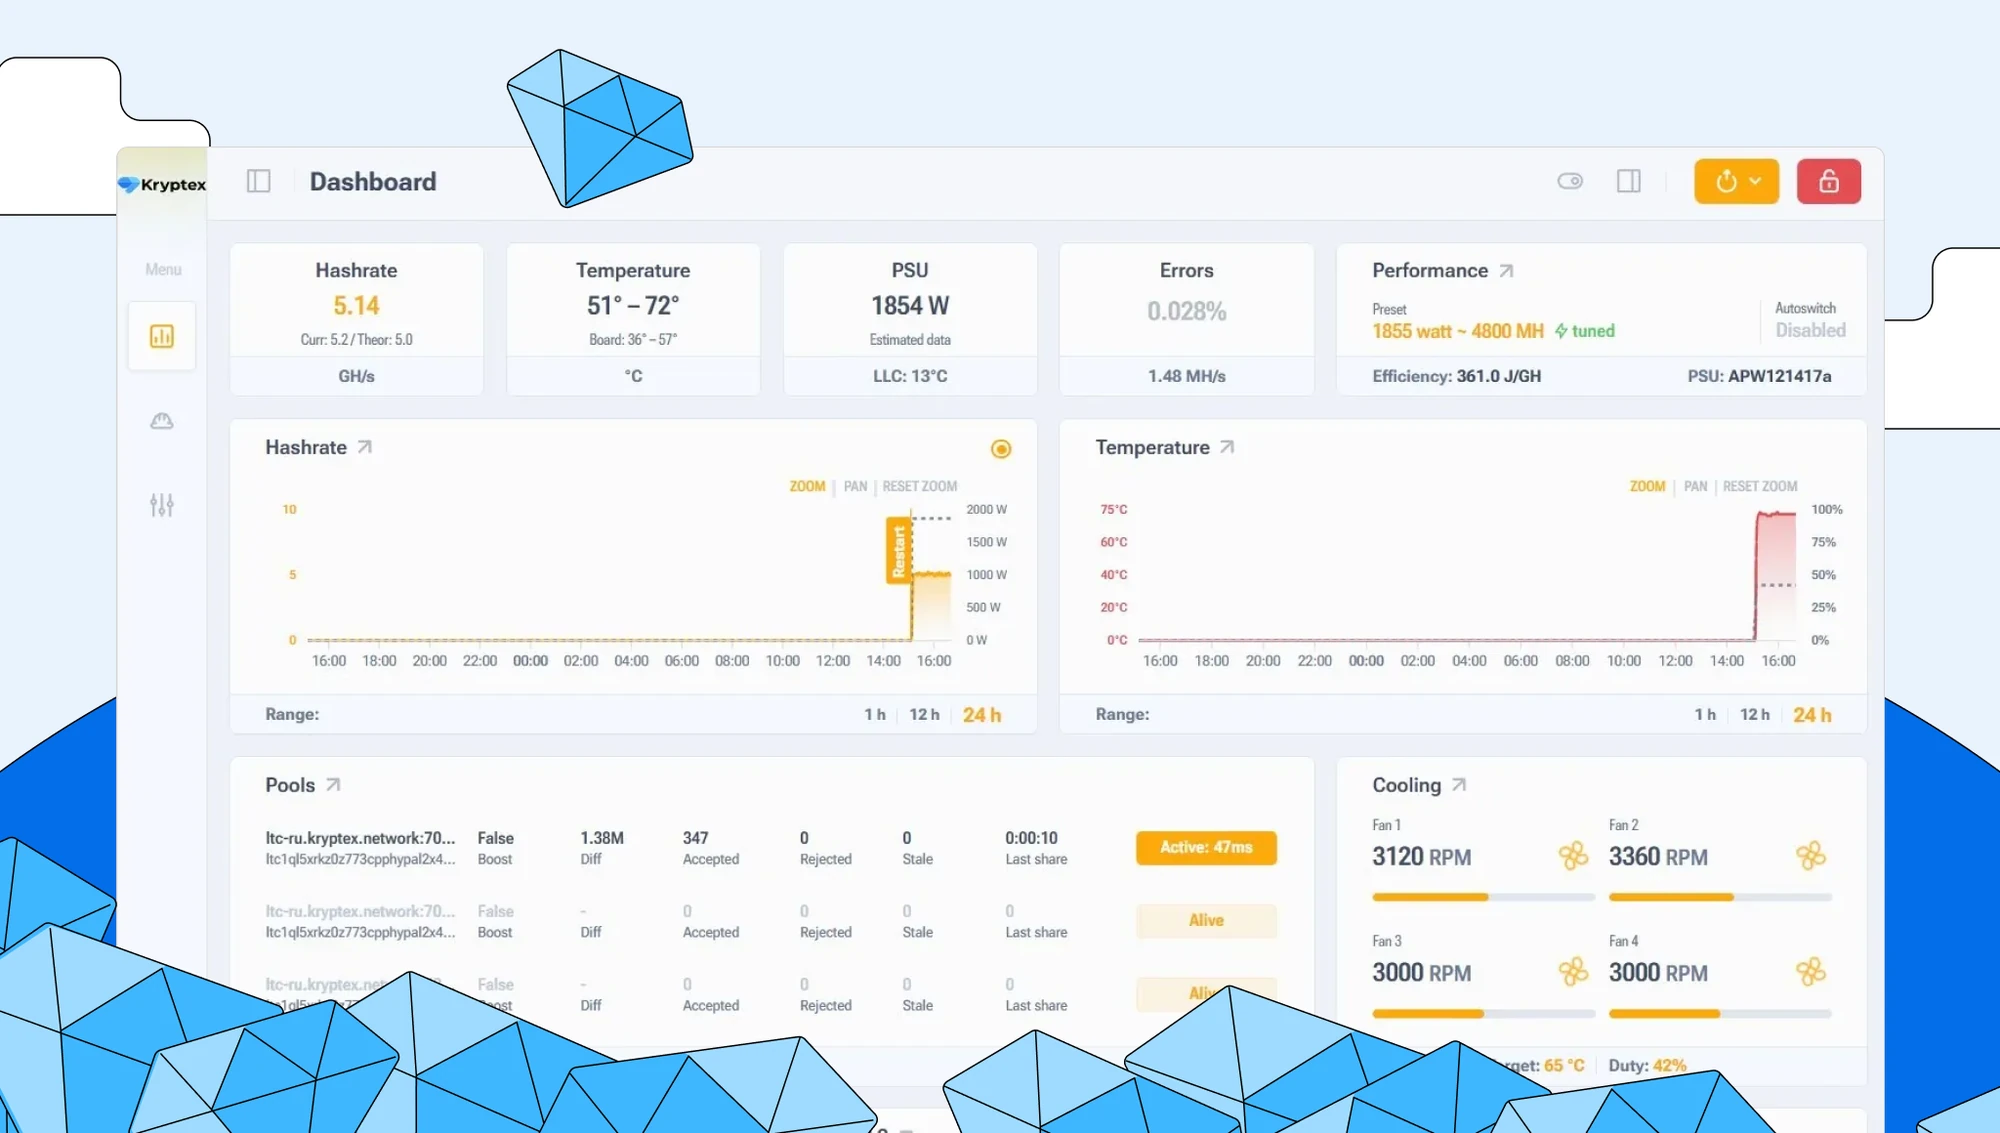
Dashboard — shows the ASIC's key metrics in one place: hashrate, temperature, power consumption, and pool status.
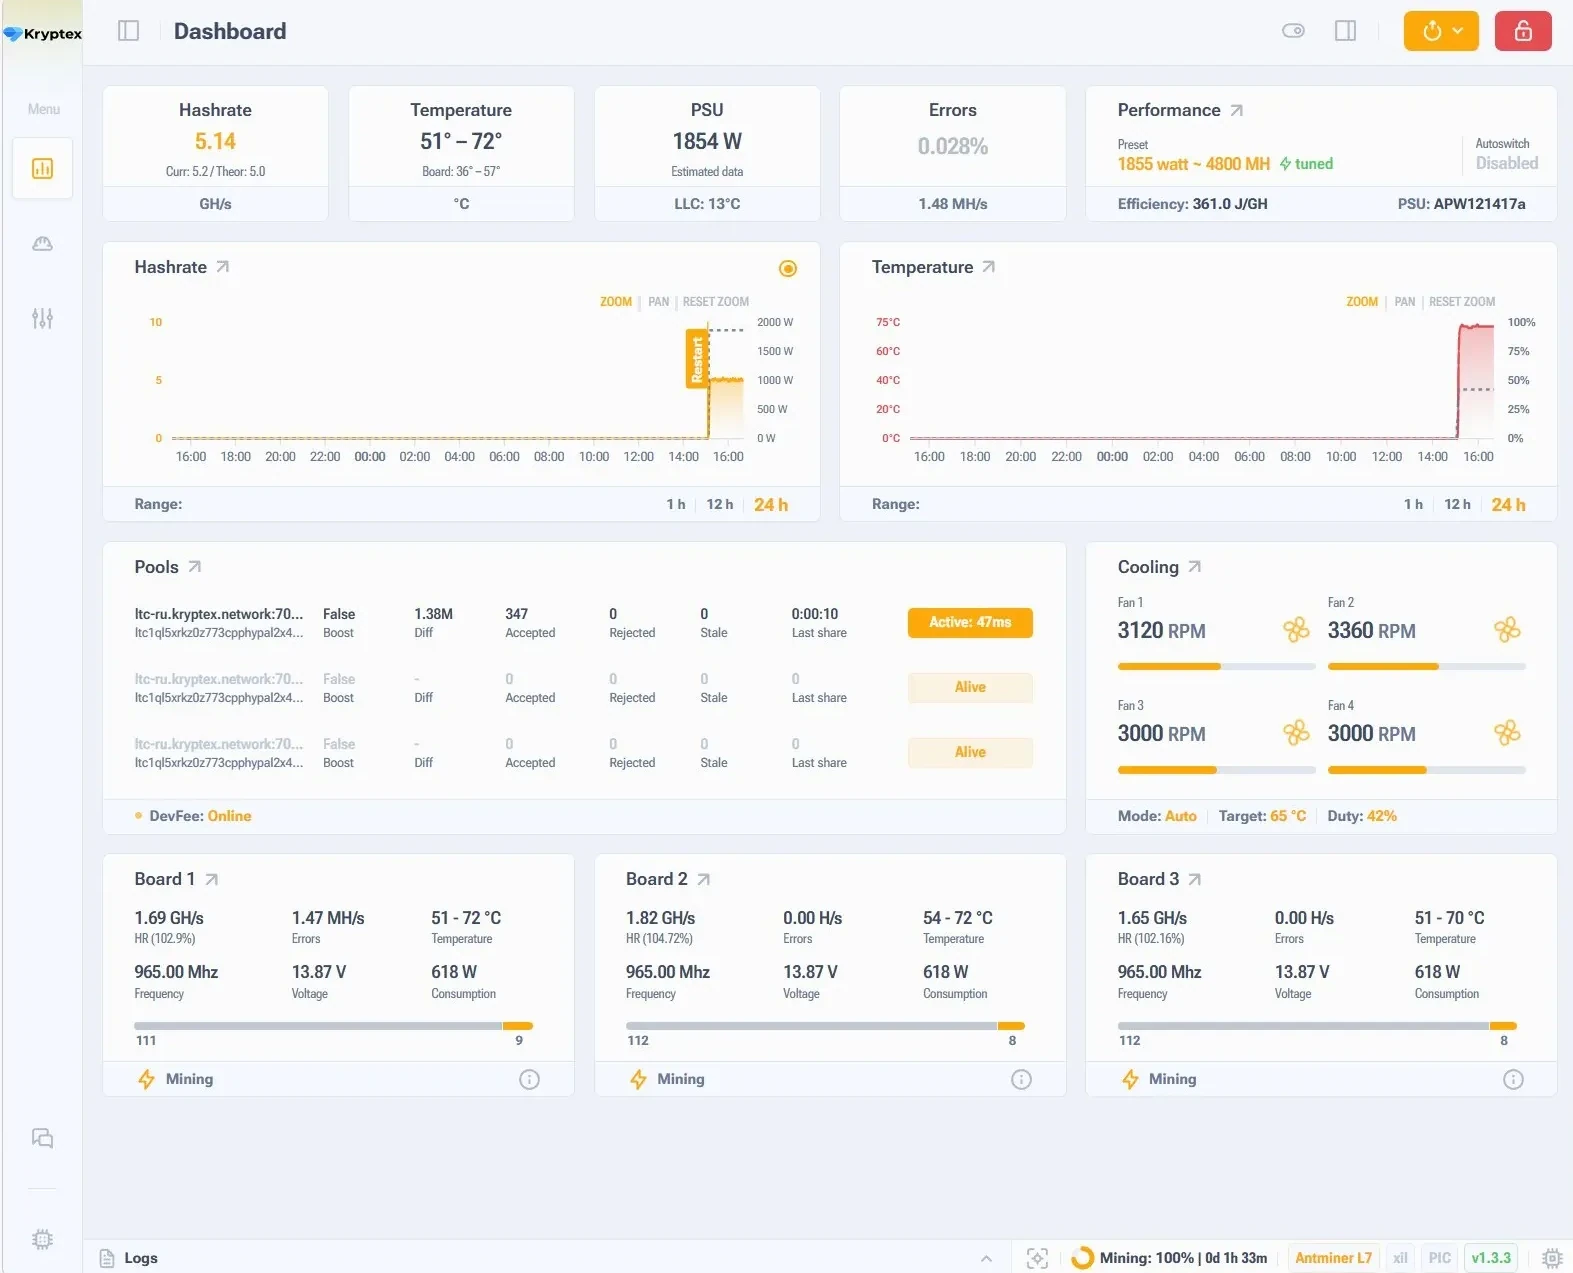
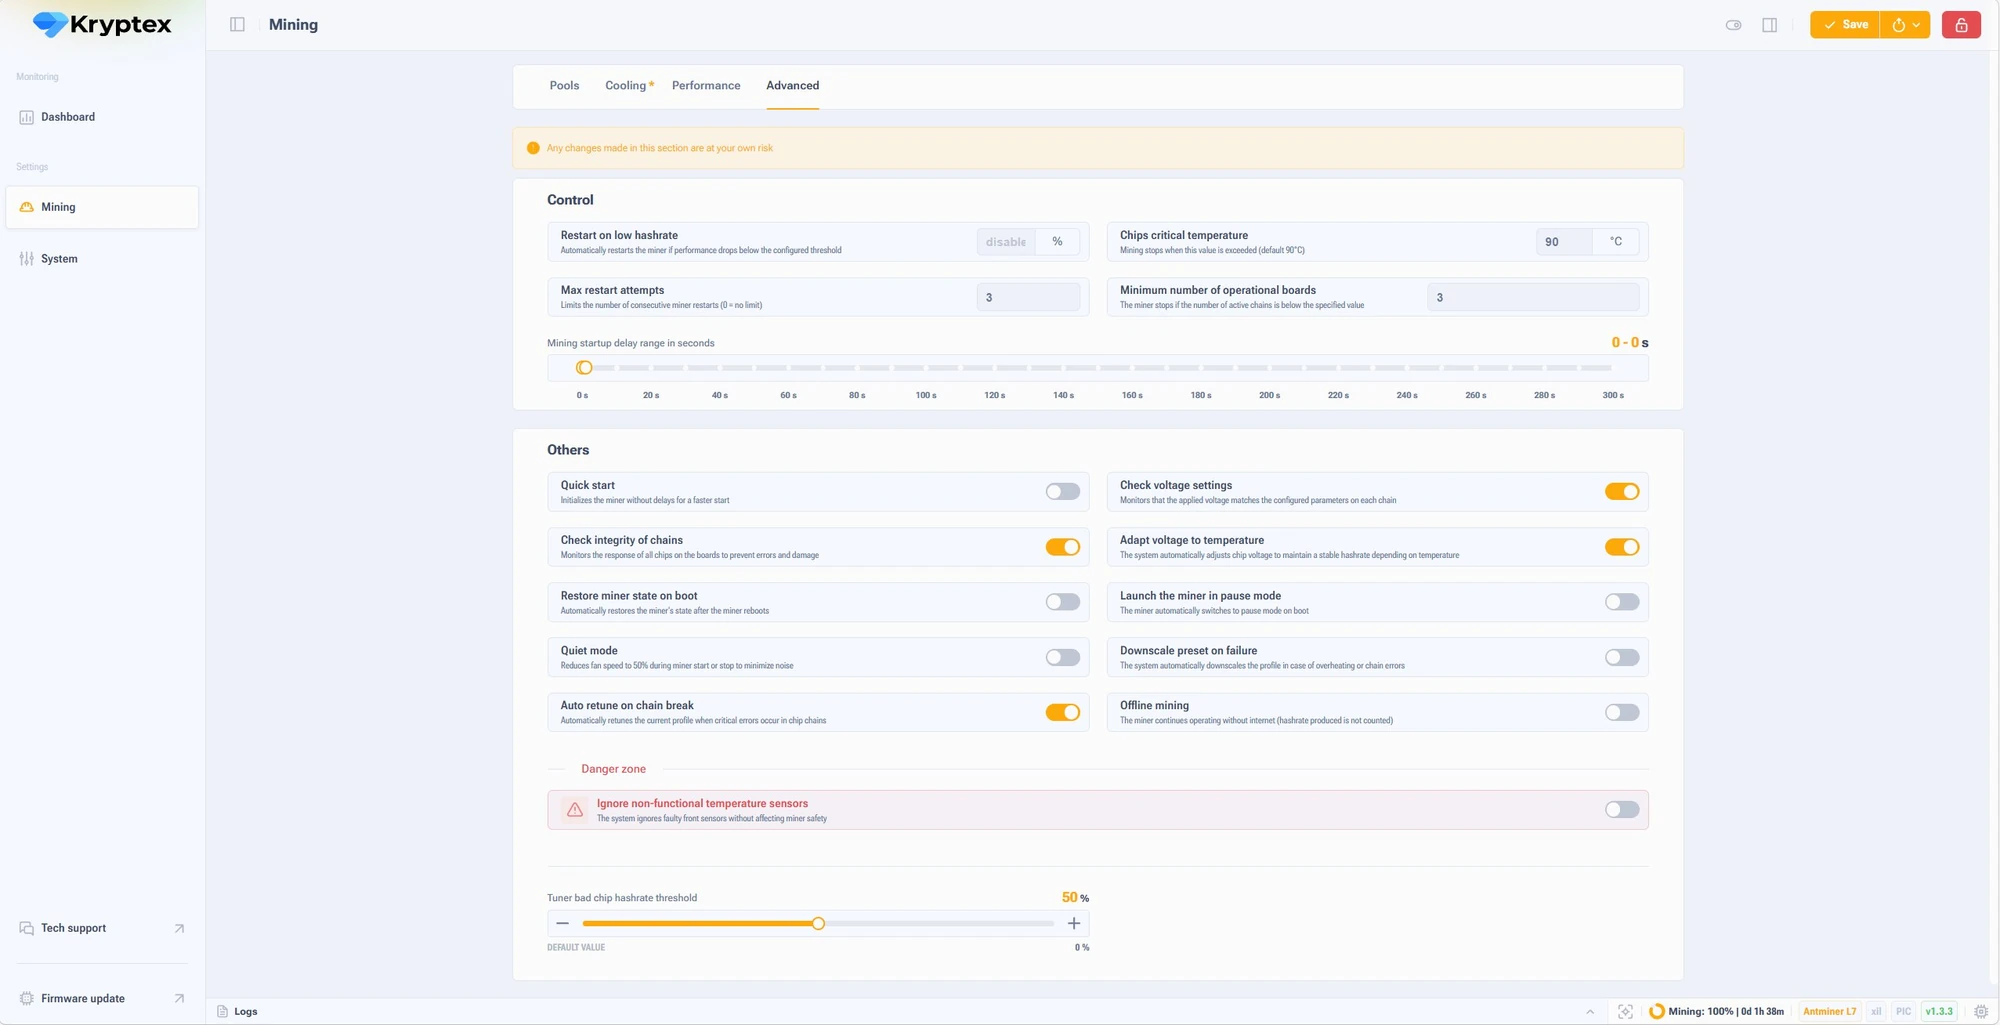
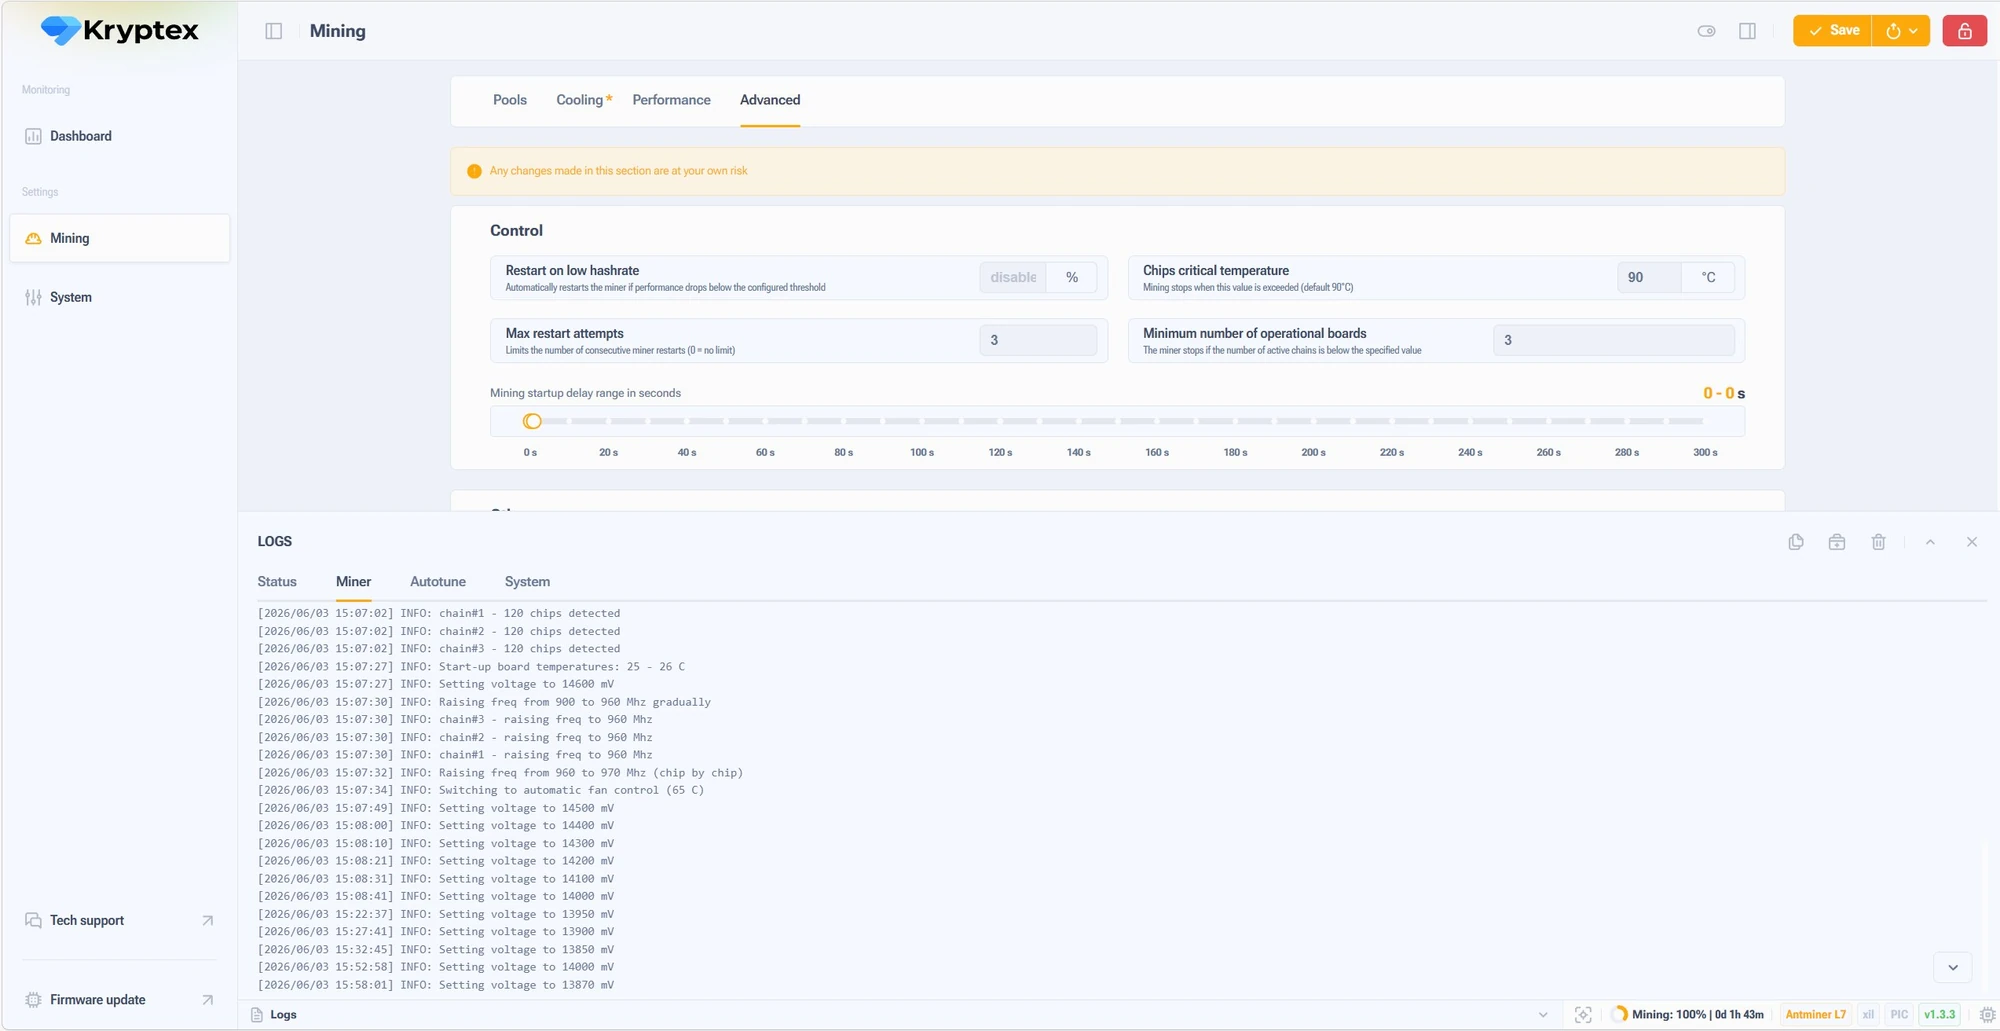
Mining settings — let you change fan speed, the overclocking profile, the pool, and other parameters. Logs and detailed per-chip information are available here too.
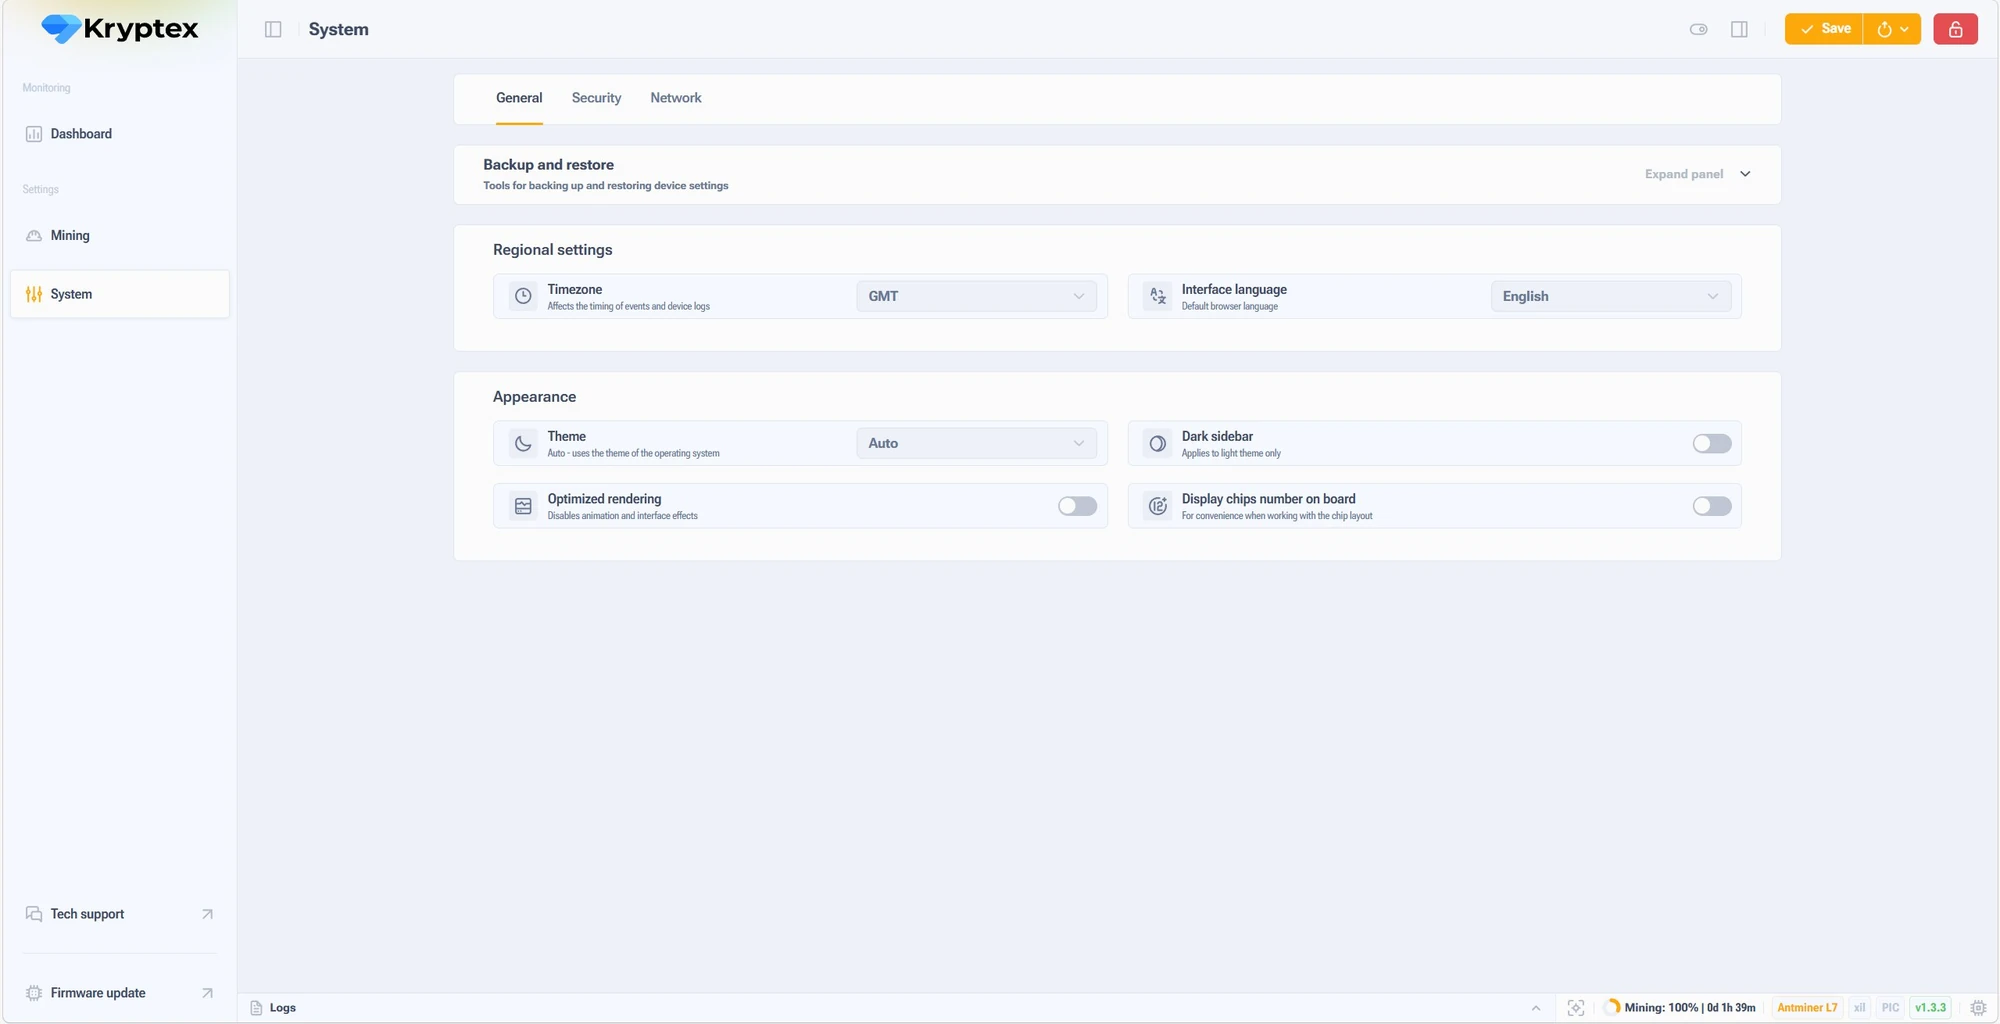
System settings — change the password, time zone, and network settings.
Need Help?
Have any questions, something unclear, or trouble connecting?
Contact support — we're happy to assist!
- Support Ticket.
- Telegram Support.
- Discord Support.
- Email support at support@kryptex.com.